What Does Colour Correcting Do For Your Skin?

You know that moment when you’re getting ready, you glance in the mirror, and your skin decides to throw a little surprise party? Redness, dark circles, and dullness—it's like they all got the invite. But before you RSVP “no” to flawless skin, let’s talk about colour correcting. With just a few clever tweaks, you can smooth things over and bring some harmony to that party, getting your complexion back in check.
Colour Correcting 101: The Basics
Alright, let’s break down colour correcting in the simplest way possible. Imagine your face is like a painting that just needs a little touch-up. Got some redness? A dash of green will do. Dark circles? There’s a shade for that too. It’s all about using the right colours to cancel out the ones you don’t want. Sounds fancy, but trust me, it’s easier than picking out the perfect lipstick shade.
Here’s how different colours work to address various skin concerns:
- Green: If you're dealing with redness—whether from breakouts, irritation, or rosacea—green is the colour you need. It neutralises the red tones, helping your skin appear more even.
- Purple: If your skin tends to look dull or sallow, purple is the way to go. It adds brightness to your complexion, giving you a more refreshed and lively appearance.
- Yellow: Late nights or early mornings making you look a little tired? Yellow correctors are perfect for brightening up dark circles under the eyes, neutralising purple or blue undertones.
- Peach/Orange: Struggling with dark spots or deeper under-eye circles? Peach and orange correctors work wonders to counteract blue tones, especially on deeper skin tones.
How to Use Colour Correcting Products: A Step-by-Step Guide
You’ve got the basics down, so let’s get into the fun part—actually putting colour correcting into action! Think of this as your roadmap to flawless skin. With each step, you’re getting closer to a smoother, more even complexion (yay!)
- Prime Time: Start with a primer to create a smooth base for your colour correcting. This helps your corrector glide on effortlessly and stay put all day.
- Spot Correct: Use your colour corrector on the specific areas you want to address. Apply a small amount and blend gently with your fingers or a brush. Less is more, so start with a tiny bit and build up if needed.
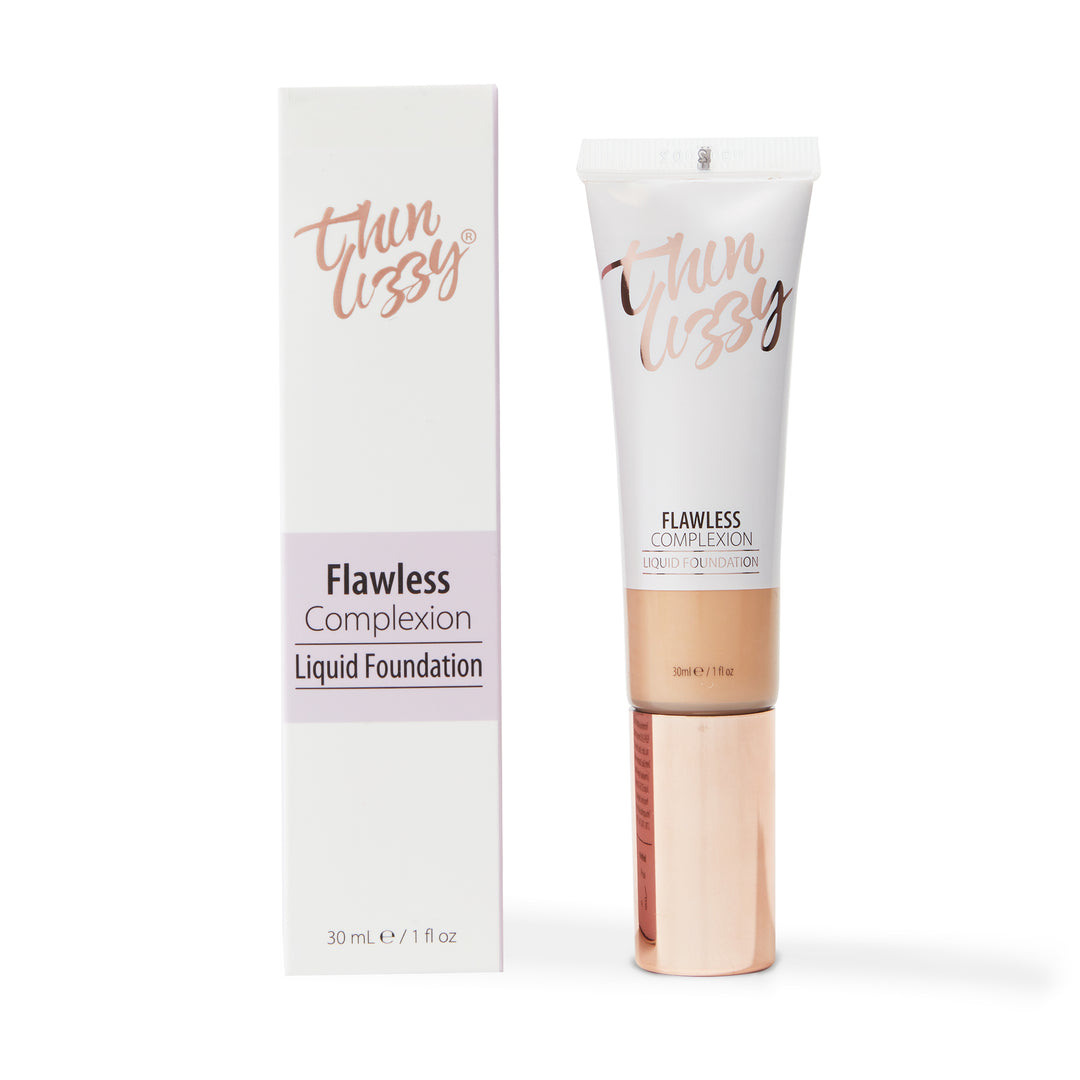
- Foundation Finesse: After colour correcting, apply your foundation as usual. The key is to blend everything seamlessly. The corrector should work its magic without being too noticeable.
- Concealer Love: Use concealer to touch up any areas that need extra coverage. This step helps to perfect your look and ensures that any remaining imperfections are well-hidden.
- Set and Go: Finish with a setting powder or spray to lock everything in place. This ensures that your flawless look stays intact all day long.
Mastering Colour Correcting: Tips and Common Pitfalls
Colour correcting can be a game-changer, but like any good beauty trick, it’s all about nailing the technique. Ready to unlock the secrets? Here are some tips to help you master the art of colour correcting, along with a few pitfalls to steer clear of:
- Start Small: Use a light hand when applying correctors. It’s easier to build up product than to take it away. Overapplication can lead to a heavy, unnatural look.
- Blend, Blend, Blend: Proper blending is crucial for a seamless finish. Use a brush or sponge to ensure the corrector merges perfectly with your skin tone and foundation.
- Know Your Tools: Invest in quality brushes or sponges. The right tools make a huge difference in how the product applies and blends.
- Prime for Success: Don’t skip the primer. It creates a smooth base and helps the corrector adhere better, ensuring longer wear.
- Match Your Skin Tone: Choose correctors that complement your skin tone. The goal is to neutralise imperfections, not add more colour.
- Avoid Layering Too Much: Piling on layers of corrector, foundation, and concealer can result in a cakey finish. Stick to thin layers and only apply more where absolutely necessary.
- Set It Right: Finish with a setting powder or spray to keep everything in place throughout the day.
Colour correcting is your shortcut to stunning skin! With just a splash of green, a touch of purple, or a hint of yellow, you can easily smooth out redness, brighten dull patches, and banish dark circles. So when your skin needs a little pick-me-up, remember: a bit of colour can work wonders.
Ready to put these tips into practice? Embrace the colour correcting magic and let your flawless skin shine!


