How to Master Underpainting: The Mary Phillips Technique

Ready to turn your face into a canvas worthy of an art gallery? Underpainting is here to save you from the mundane and elevate your makeup game to a whole new level. Think of it as creating a fabulous work of art, where the foundation is your primer and contour is the brushstroke. Follow along as we break down this beauty trend that’s sweeping the social media scene faster than you can say Mary Phillips!
What is Underpainting?
Alright, let’s clear the air—underpainting might sound like something you’d do with a paintbrush and a canvas, and that’s because it totally is! This classic art technique, used to lay down a base of contrast and light in oil painting, has made a glamorous leap into the beauty scene. Thanks to makeup artist Mary Phillips, who’s credited with bringing this old-school method into the spotlight, underpainting is now your go-to move for that flawlessly sculpted look.
Step 1: Prep Your Canvas
Before the real fun begins, let’s show your skin some love! Start with SPF to keep it protected, then choose an Illuminating or Pore Minimising Primer based on what your skin’s craving. These primers smooth everything out, setting the stage for your underpainting masterpiece. Time to get that canvas prepped and glowing!
Step 2: Contour Like a Pro
Contour is where the transformation begins! Depending on your face shape, contour placement might vary. Check out our Contour Placement Tips below. Apply your contour to the areas you want to define, then blend and buff it in using a big fluffy brush. The goal? A seamless blend that enhances your natural features.
Contour Placement Tips:
- Round Faces: Contour along the sides of your forehead and under your cheekbones.
- Oval Faces: Focus on the sides of your forehead and under your cheekbones for a balanced look.
- Square Faces: Contour your jawline and the sides of your forehead to soften your angles.
Step 3: Highlight for Dimension
Next up, it’s time to shine! Highlighting adds that pop of dimension, lifting and sculpting your features effortlessly. Swipe your highlighter on your forehead, nose, chin, and just under your cheekbone contour for a look that’s pure glow goals.
Highlight Placement Tips:
- Forehead: Apply just above the center of your brows.
- Nose: A dab down the bridge will add dimension.
- Chin: Highlight the center for a fresh, lifted look.
- Cheekbones: Right under the contour to accentuate your features.
Bonus Step: Lock It In
Pro tip: Lock in your look with a spritz of Setting Spray. This little step keeps your layers in place and your glow going strong. Spray it between layers, then blend in the highlight for a flawless finish that lasts all day.
Step 4: Foundation Time
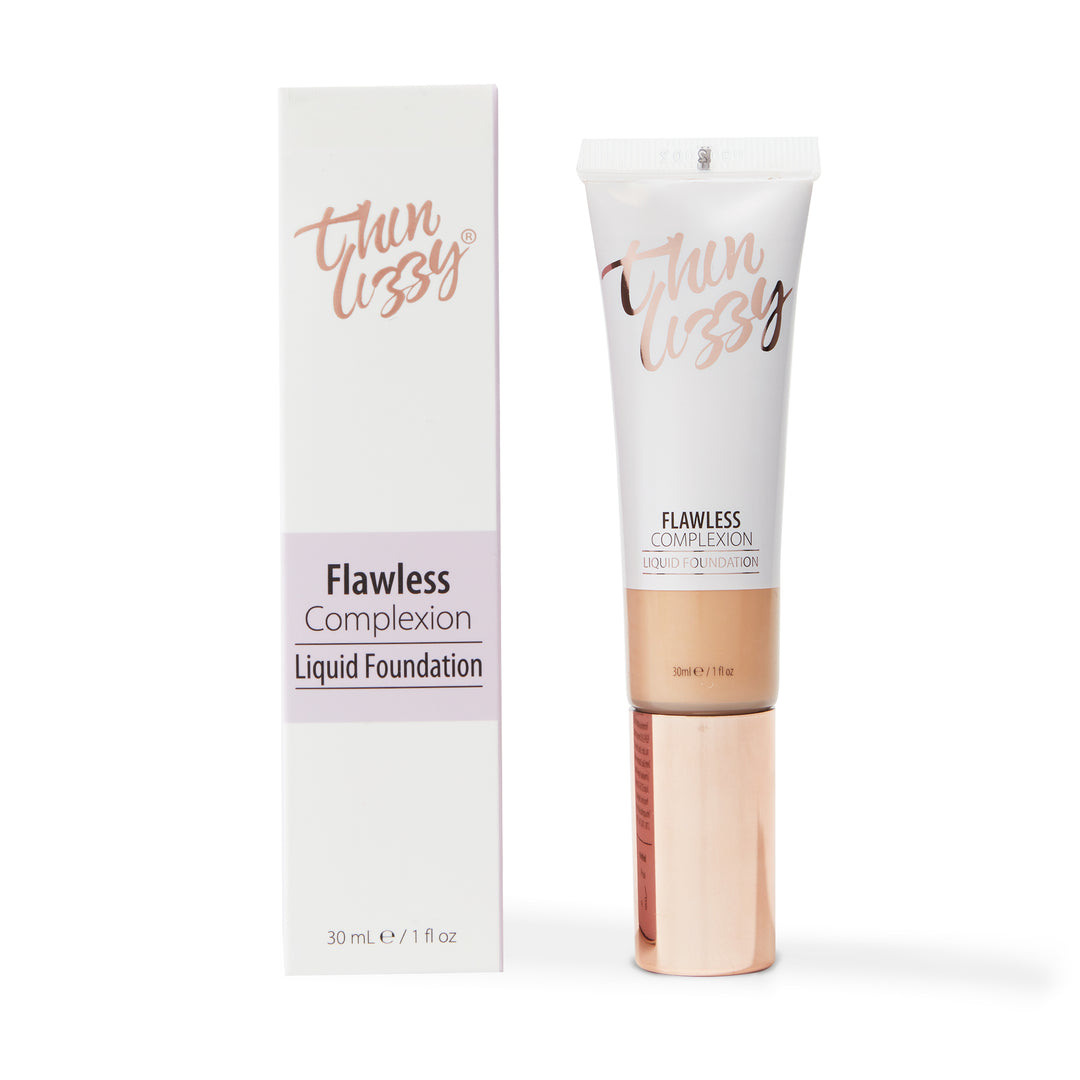
Now that your underpainting is set, it’s time for foundation. Reach for a foundation with a stunning full coverage finish. Buff it in gently with your brush or sponge. This step blends all your contour and highlight seamlessly into your skin.
Step 5: Add a Pop of Blush
With your base all set, it’s time to add some cheeky colour! Dab your blush onto your cheeks and blend with the a blush brush. Your cheeks will have a natural flush that’s perfectly blended.
Final Touches
Complete your look with a swipe of mascara and a touch of a nourishing lip mask. Finish with a final spritz of setting spray to keep everything in place.
Look at you! You’ve nailed the underpainting technique and are now ready to rock that sculpt!


