How to Cover Acne and Blemishes Correctly with Makeup: Step-by-Step

Are you tired of those pesky pimples and blemishes crashing your face party? Whether you’ve got unexpected or expected breakouts popping up or scars that seem more committed than your ex, we all face these challenges. But don't worry! With the right makeup techniques, you can turn your skin's unruly guests into a confidence-boosting glow. In this step-by-step guide, we'll explore how to effectively cover acne and blemishes with makeup—not to hide because you should be embarrassed, but to enhance your natural beauty and grow your confidence!
Acne and Blemishes
First off, let’s get real. Acne and blemishes are part of the human experience, like bad hair days and forgetting where you parked. If you’ve ever caught yourself giving your mirror the side-eye, wondering why your skin can’t catch a break, you're definitely not alone. These little annoyances love to pop up at the worst times, leaving us feeling a bit less fabulous than we deserve. But don’t worry, we’re here to help you shine!
Why Makeup Can Be Helpful
Makeup isn’t about hiding who you are; it’s about expressing yourself and feeling good in your skin! Think of makeup as your confidence booster. When those annoying blemishes are camouflaged, you can focus on being your radiant self, not on what’s happening on your chin.
Step 1: Prep Your Skin
A flawless look starts with a clean canvas. Begin by cleansing your face thoroughly to remove any impurities and excess oils. A gentle exfoliation can help smooth out your skin, but don’t go overboard. Over-exfoliating is like over-caffeinating—never a good idea.
Next, hydrate! Use a lightweight, non-comedogenic moisturiser to keep your skin happy without clogging pores. And don’t forget your sunscreen—yes, even if your biggest outdoor escapade is the walk to your car, UV protection is a must. Your skin will thank you!
Step 2: Color Correcting
Color correcting might sound like you need a degree, but it’s actually a total game-changer. Use a green corrector to neutralise redness—think of it as balancing out your skin’s tone. For dark circles or blemishes, peach or orange corrector will brighten those areas.
Apply a small amount to the areas that need a little extra love and blend gently. Less is more—no need to go heavy! Let the corrector settle for a minute before applying foundation, and you’ll have a complexion that’s ready to impress.
Step 3: Choosing the Right Foundation
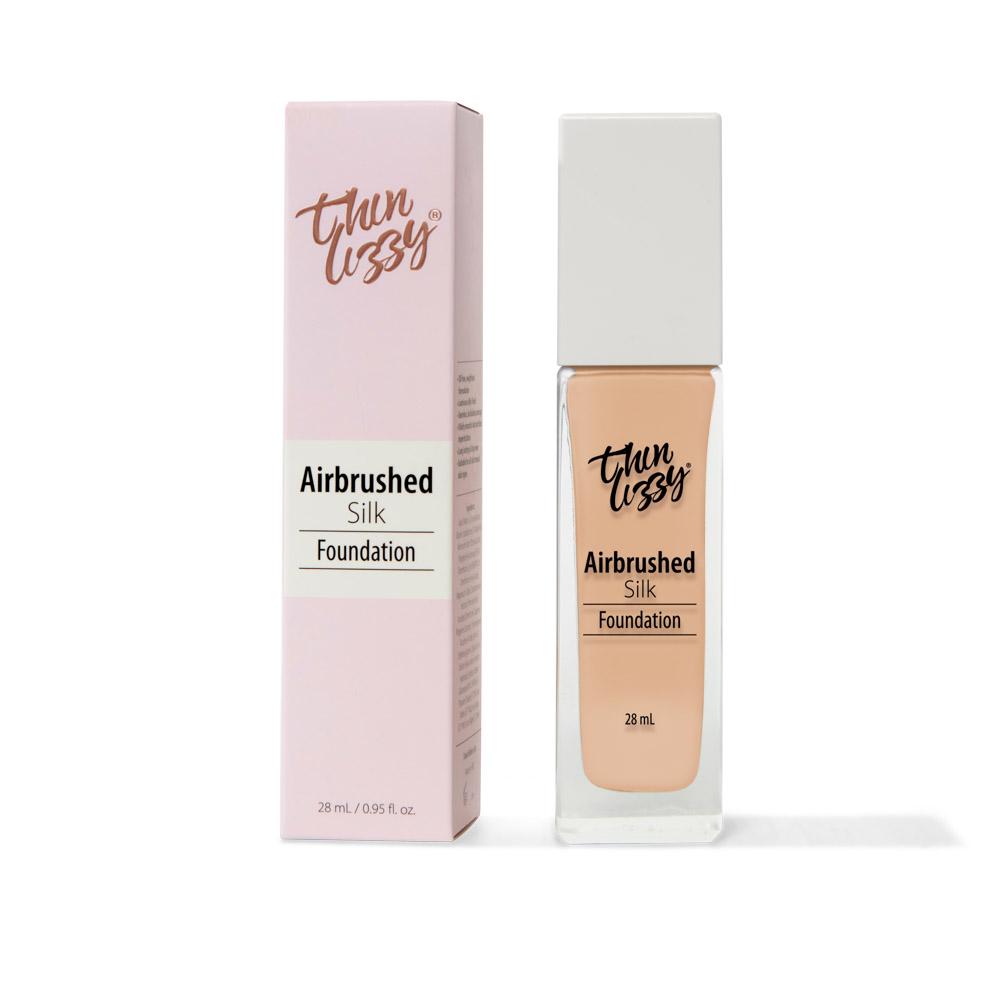
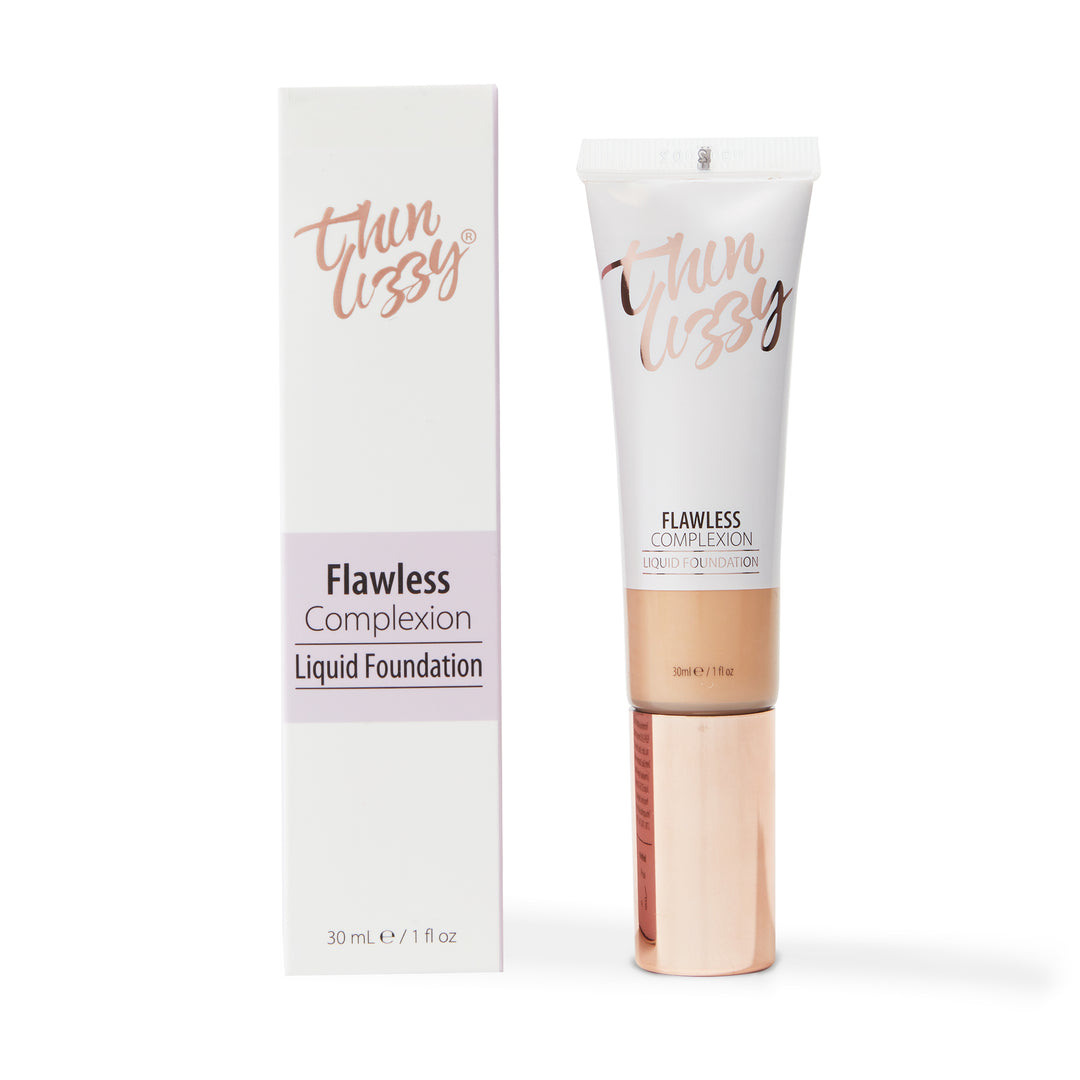
Picking the right foundation is crucial—think of it as choosing a life partner for your face. Opt for non-comedogenic to avoid clogging those pores. If you’re dealing with oily skin, go for an oil-free, matte finish. Dry skin? Reach for a hydrating foundation to keep things dewy.
Match your foundation to your skin tone by testing it in natural light—no fluorescent lighting allowed. Apply a thin layer and build it up as needed. Remember, you want flawless coverage, not cake!
Step 4: Concealing Blemishes
Now, it’s time to put those blemishes in their place. Grab a high-coverage concealer that matches your skin tone—this is like your blemish’s worst nightmare. Dab the concealer on the spots and gently blend it out. Remember, patting is key; rubbing is for dishwashing, not your face.
Here’s a pro tip: Let the concealer sit for a minute before blending. It makes a world of difference in coverage! For deeper spots, try a slightly lighter shade to brighten without turning it into a neon sign. Let each layer set before applying more to avoid that dreaded cakey finish.
Step 5: Setting the Makeup
Alright, Picasso, your canvas is complete, but we need it to stay museum-worthy all day. Time to seal the deal! Choose a setting powder or spray that’s a match for your skin type. Oily skin types, say hello to mattifying powder. Dry skin beauties, meet your soulmate: hydrating mist. Or use them together for a complete lock in!
Lightly dust the powder over your face, paying extra attention to the T-zone. If you’re going for the spray, hold it at arm’s length and spritz away. And just like that, your look is set to last.
Final Thoughts
Mastering the art of covering acne and blemishes with makeup is about more than just hiding imperfections. It’s about enhancing your natural beauty and boosting your confidence. With the right techniques and products, you can achieve a flawless look that makes you feel fabulous.
Makeup should empower you to feel your best, not mask who you are. Embrace these steps as part of an approach to managing acne while celebrating your unique beauty. You’ve got this!


